- Bargain Basement
- Abrasive Blasting
- Adhesion
- Ambient Conditions
- Cases
- Cathodic Protection
- Coating Test Panels
- Coating Thickness Gauge
- Combination Gauges
- Compliance Programs
- Concrete Testing
- Corrosion Coupon Test Kits
- Dry Film Thickness Gauges
- Field Microscopes
- Gloss & Appearance
- Hardness Testing
- Holiday/Pinhole Detection
- Inspection Instrument Kits
- Miscellaneous
- Moisture Detection
- Powder Coating
- Publications
- Surface Cleanliness
- Surface Contamination Test Kits
- Surface Profile
- Wall Thickness Gauges
- Wet Film Thickness Gauges
OG214 Plastic Tooke Gauge
$964.00
Mark IV (OG214) Plastic Range:0-50 mils
Only 3 left in stock (can be backordered)
SKU:
213157
Category: Uncategorized
Description
OG214 Plastic Tooke Gauge
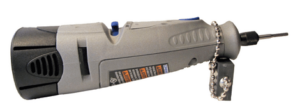
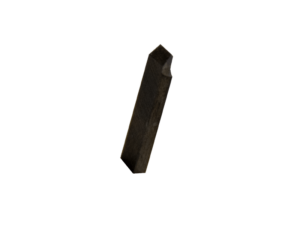
Measure the thickness of individual coating layers (must be alternating or different colored layers) after the fact using the Tooke Gauge. The incision is then magnified through a 50X ocular containing a reticule. The Dual-Measure reticule is marked with one mil per hashmark above the line and 20 microns below the line. This powerful gauge is hand-held and portable, and can be used over nearly any type of substrate. A “must have” for the coating failure investigator. The Tooke gauge destructively reveals the thickness of each coat in a multiple coat system (up to 50 mils thick). An incision is made through the coating layers down to the substrate. The incision is then magnified through a 50X ocular containing a reticule. Depending on the tip no. that is used to make the incision, the number of reticule divisions is converted to mils, microns or millimeters using a conversion table. The presence of mill scale, rust or voids in the coating layer cross-section may also be revealed. The Tooke Gauge is sold complete with three cutting tips (1X, 2X and 10X), AA batteries, spare light bulb, allan wrench, marker and instruction booklet all housed in a polycarbonite plastic carry case. The gauge conforms to ASTM D4138 and is available in lightweight plastic (Model OG214) or aluminum (OG212). The optional Microgroover is used to create the precision V-groove on pliable substrates like rubber, which often deform when conventional cutting tips are used to create the incision. Made in the USA.
Manufacturer: Micro-Metrics
Additional information
| Weight | 1.0500 lbs |
|---|---|
| Brand |
Micro-Metrics |
Related products
Coarse 0.8 to 2.5 mils (20 to 64 microns)
$42.00
S-2
$13.93
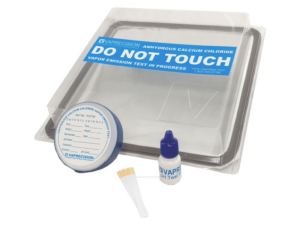
Vaprecision Calcium Chloride Vapor Emission Test Kit
$39.00
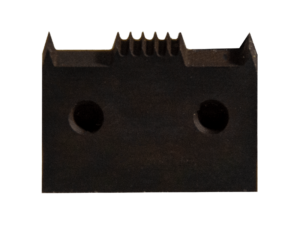
Fine Blade PA2052 1mm spacing – 6 teeth (Blade Only)
$119.95
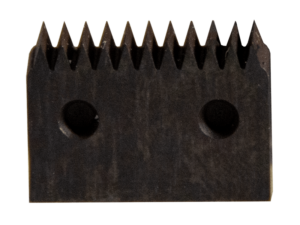
Medium Blade PA2054 1.5mm spacing – 11 teeth (Blade Only)
$115.75
Training Surface
$25.00


