Replica Tape Reader to Measure and Record 2D/3D Surface Profile Parameters
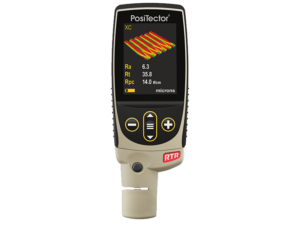
Digital spring micrometers measure and record surface profile parameters using Testex Press-O-Film™ replica tape.
- Larger 2.8″ impact resistant color touchscreen with redesigned keypad for quick menu navigation
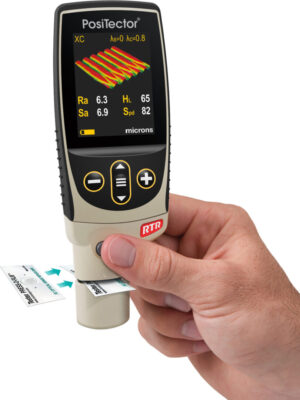
- Create a replica by burnishing tape on a surface and insert into instrument. 3D imagery and 2D/3D parameters are displayed in seconds!
- Reports common parameters: Ra, Rq, Rz, Rp, Rv, Rt, Rpc (2D), and Sa, Sq, Sz, Sp, Sv, and Spd (3D)
- Ideal for field or laboratory use; flat, curved, or irregular surfaces
- Download 3D .SDF image files for analysis in included PosiSoft or third party software
- Certificate of Calibration showing traceability to PTB (for H and HL only) and NPL (for Ra and Rt) included (Long Form)
Simple
- Measures peak height (HL) and common 2D/3D profile parameters such as Ra, Rz, Sq, Spd, and more
- Ideal for measuring on flat, curved, or irregular surfaces
- Larger 2.8″ impact resistant color touchscreen with redesigned keypad for quick menu navigation
- On-gage help explains menu items at the touch of a button
- RESET feature instantly restores factory settings
Durable
- Weatherpoof, dustproof, and water-resistant—IP65-rated enclosure
- Ergonomic design with durable rubberized grip
- Rugged indoor/outdoor instrument—ideal for field or laboratory use
- Shock-absorbing, protective rubber holster for added impact resistance
- Two year warranty on gage body AND probe
Accurate
- Certificate of Calibration (containing Ra and Rt measurements) showing traceability to an accredited national laboratory included
- Conforms to national and international standards including ISO and ASTM
Versatile
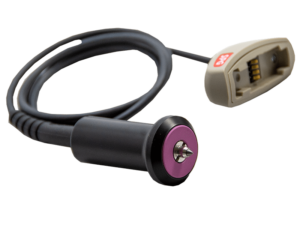
- PosiTector body accepts all PosiTector RTR, SPG, 6000, 200, DPM, IRT, SST, SHD, BHI, andUTG probes easily converting from a surface profile gage to a coating thickness gage, dew point meter, soluble salt tester, hardness tester, or ultrasonic wall thickness gage
- Selectable display languages
- Auto rotating display with Flip Lock
- Mils/Microns switchable
Powerful
- Calculates and records all fourteen 2D and 3D parameters (below) with each measurement
- Screen Capture—save 100 screen images for record keeping and review
- Up to 30% longer battery life
- USB port for fast, simple connection to a PC and to supply continuous power. USB cable included
- PosiSoft USB Drive – stored readings and graphs can be accessed using universal PC/Mac web browsers or file explorers. No software required.
- Every stored measurement is date and time stamped
- Includes PosiSoft suite of software for viewing, analyzing & reporting data
- Apply short and long cutoff filters and discard lengths to optimize the analysis for a specific application
- Orient the 2D trace between horizontal, vertical, and diagonal (XY, YX)
- Storage of 1,000 readings per probe—stored readings can be viewed or downloaded
- Storage of 250,000 readings in up to 1,000 batches
- Live graphing of measurement data
- Download high resolution Surface Data Files (.SDF) for analysis in the included PosiSoft or third-party software
- Generates two dimensional (2D) and three dimensional (3D) thumbnail images. Ideal for inclusion into reports and confirming consistent blasting results.
- NEW Touchscreen keyboard for quickly renaming batches, adding notes, and more
- WiFi technology wirelessly synchronizes with PosiSoft.net and downloads software updates
- Bluetooth 4.0 Technology for data transfer to a mobile device running the PosiTector App or optional portable printer. BLE API available for integration into third-party software.
- Integrate with third-party software, drones, ROVs, PLCs, and robotic devices using several industry-standard communication protocols
Replica tape is a long-known method for characterizing a surface. It is simple, relatively inexpensive, and shows good correlation with results from other methods. It has the advantages of ruggedness, relatively low start-up cost, good repeatability and the option of retaining a physical replica of the surface being evaluated. The method is widely used and widely understood. It is particularly useful for measurements on curved surfaces that are difficult to measure directly with other instruments.
It is therefore not surprising that it has become the most popular field method for measuring surface profile. Its operation is described in a number of international standards including ASTM D4417, ISO 8503-5, NACE SP0287, and AS 3894.5.
For most applications, Optical Grade XC is the appropriate tape grade. The PosiTector RTR 3D has been calibrated using the Optical Grade XC tape and the XC tape setting. When measuring 2D and 3D parameters, Optical Grade XC should be used. When measuring peak to valley height using the H parameter, it is possible to use either Optical or Regular C and XC tape.
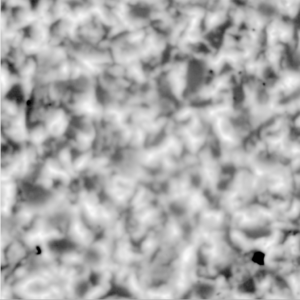
A black and white two dimensional (2D) image is essentially a photograph of the burnished tape. It reveals a pattern of dark and light spots similar to what you might see if you put the replica tape in front of a light source. The bright areas are higher compressed tape (peaks) and dark areas are lower compressed tape (valleys). This image can be exported for inspection reports. Advanced models only.
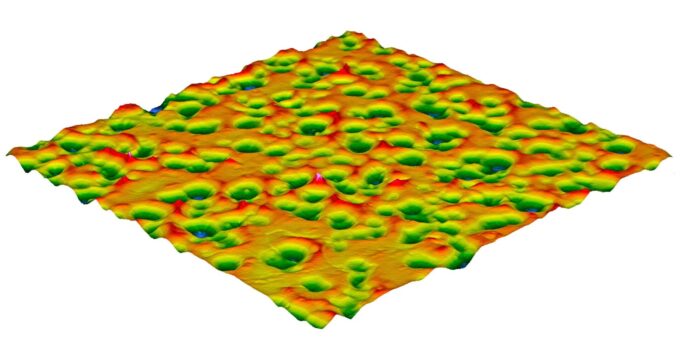
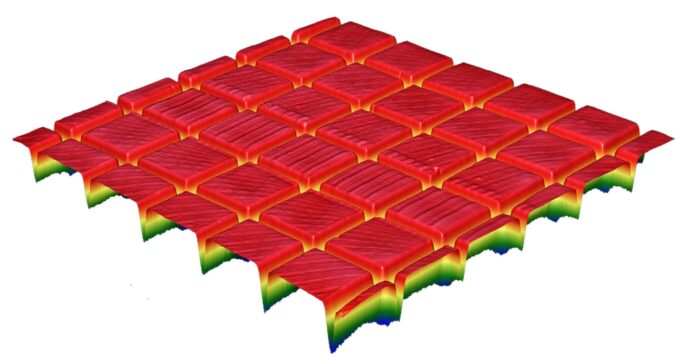
The PosiTector RTR 3D uses a light intensity versus thickness algorithm to produce three dimensional (3D) images of the replicated surface. A low-resolution color image is quickly generated and displayed on the PosiTector which can also be exported into inspection reports. Advanced models only.
The FREE PosiSoft Desktop software provides a simple, easy to use interface to import and analyze high-resolution .sdf files generated by the PosiTector RTR 3D. Within PosiSoft Desktop, a trace from the 3D plot can be analyzed, filtering settings can be modified, and 2D and 3D parameters can be viewed. If more detailed analysis is required, DeFelsko recommends OmniSurf and OmniSurf 3D produced by Digital Metrology (www.digitalmetrology.com).
Reviews
There are no reviews yet.